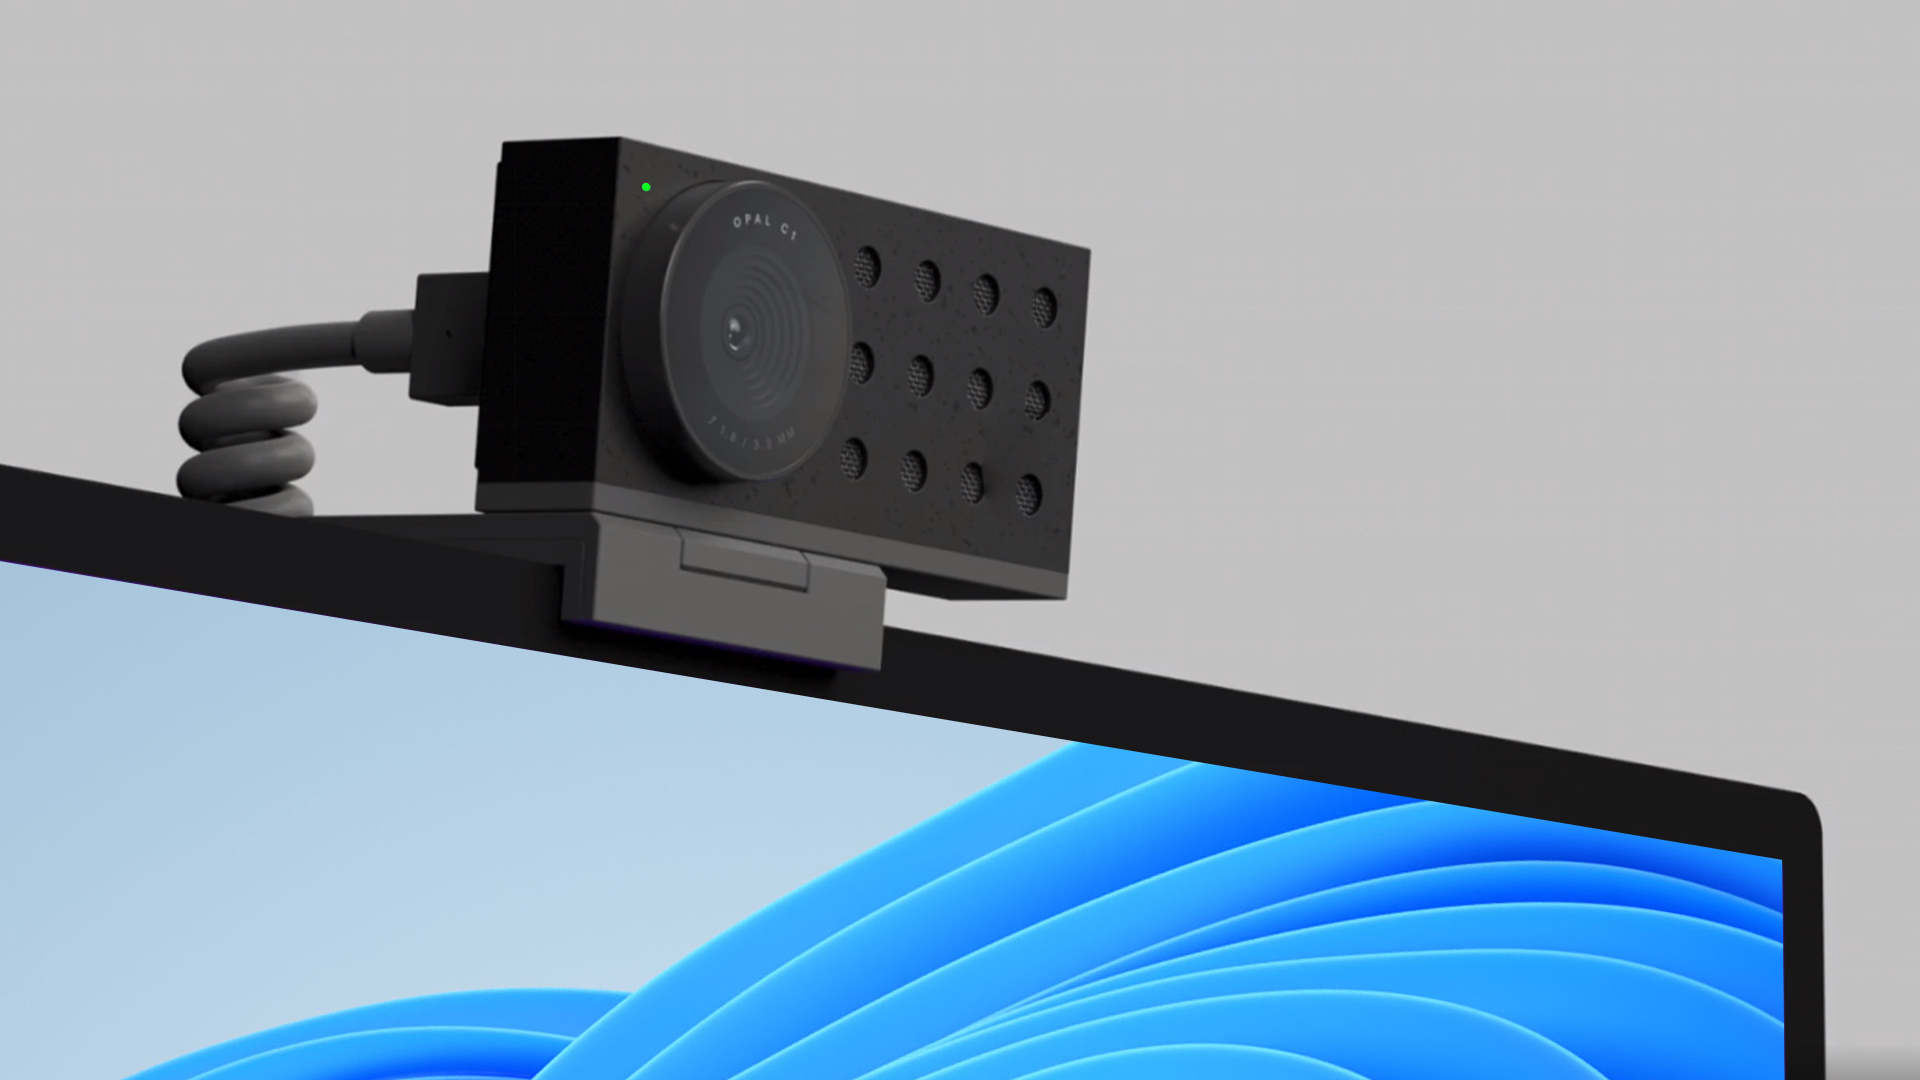
However, if the webcam on your Windows 11 computer is blurry or has turned blurry, you can easily fix that. This might involve some tinkering and troubleshooting. We’ve compiled the best ways to fix a blurry webcam on your Windows 11 PC.
1. Check for Internet Connectivity Issues
An intermittent or slow internet connection is often the most common reason your webcam shows a blurry or hazy video to others. It also impacts the video quality and disrupts audio and video sync. Turn off your PC’s internet and open your PC’s default camera application to check if the video appears unclear even when you’re offline. But if it works fine, then your computer might be experiencing issues with internet connectivity. Refer to our guide on how to fix internet connectivity issues on Windows. After fixing the connectivity options, if you continue to get blurry video, carry on with the next solution.
2. Check Your Webcam’s Focus Ring
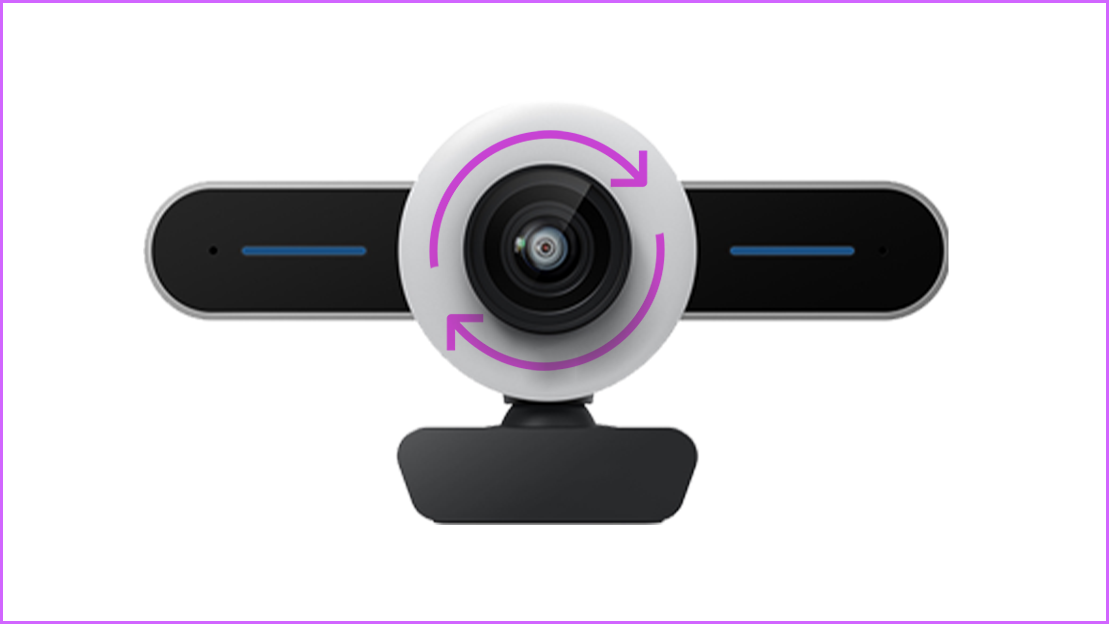
A select set of third-party cameras comes with an electro-mechanical focus ring to manually adjust the camera’s focus. This ring entirely depends on the camera model you have. Look for a circular dial around the webcam’s lens. If it turns, open the default camera app on Windows 11. Then, try turning the focus ring right or left until you see a clear camera output that fits your preference.
3. Run the Camera Troubleshooter
If the two methods listed above didn’t work for you, then your best bet is to run the camera troubleshooter built into Windows. Running this troubleshooter can automatically detect problems and apply fixes to help you overcome your webcam woes. Here’s how you can easily access and use the camera troubleshooter on your Windows 11 PC: Step 1: Press the Window + I shortcut to open the Settings app. Step 2: Head to System and click on the Troubleshoot option. Step 3: Under Troubleshoot, click on the Other Troubleshooters option. Step 4: Scroll down and click on the Run button found beside the Camera segment. Step 5: In the Get Help window, answer all the simple questions by selecting the Yes or No options to resolve your webcam issues. If you followed all the steps correctly, Windows should automatically fix all your webcam issues.
4. Update or Reinstall Webcam Drivers
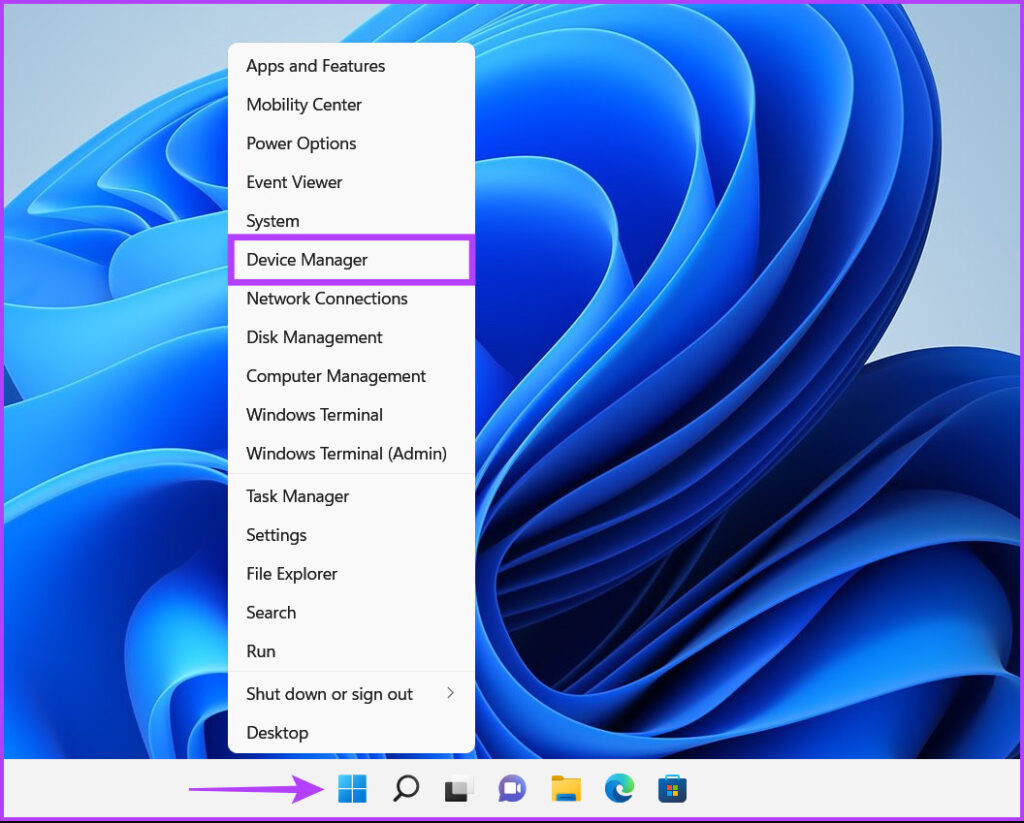
Windows 11 has been notorious for hardware-related issues caused due to unstable or outdated drivers. Outdated or corrupt webcam drivers may also mar the video quality or cause the webcam to malfunction. So it’s a good idea to update or reinstall the webcam drivers on your computer. Here’s how you can easily update or reinstall the camera drivers on your Windows 11 PC to fix issues related to the webcam: Step 1: Right-click on the Start button and select Device Manager from the list. Step 2: In the Device Manager window, look for the ‘Cameras’ entry and double-click to expand it. Step 3: Under Cameras, right-click on ‘HD User Facing’ and select ‘Update Driver.’ Step 4: On the Update Drivers window, click on ‘Search automatically for drivers.’ Step 5: Let it search for latest drivers that are verified by Microsoft for your webcam. It will find and install the latest drivers, if available. Otherwise, click on the Close button in the bottom-right corner. When you see a message stating that your computer has the best drivers installed, you may ask the app to search for new drivers through the Windows Update. After that, you should check the webcam manufacturer’s website for the latest drivers. Step 6: If you aren’t able to find any new drivers for the webcam, right-click on ‘HD User Facing’ and select ‘Uninstall device.’ Step 7: In the confirmation dialog that appears, click on Uninstall. Step 8: Restart your PC. After you restart your PC, Windows 11 will automatically search for the relevant camera drivers and install them for you. You may also reinstall or update the graphics drivers on your computer.
5. Try Repairing or Resetting the Camera App
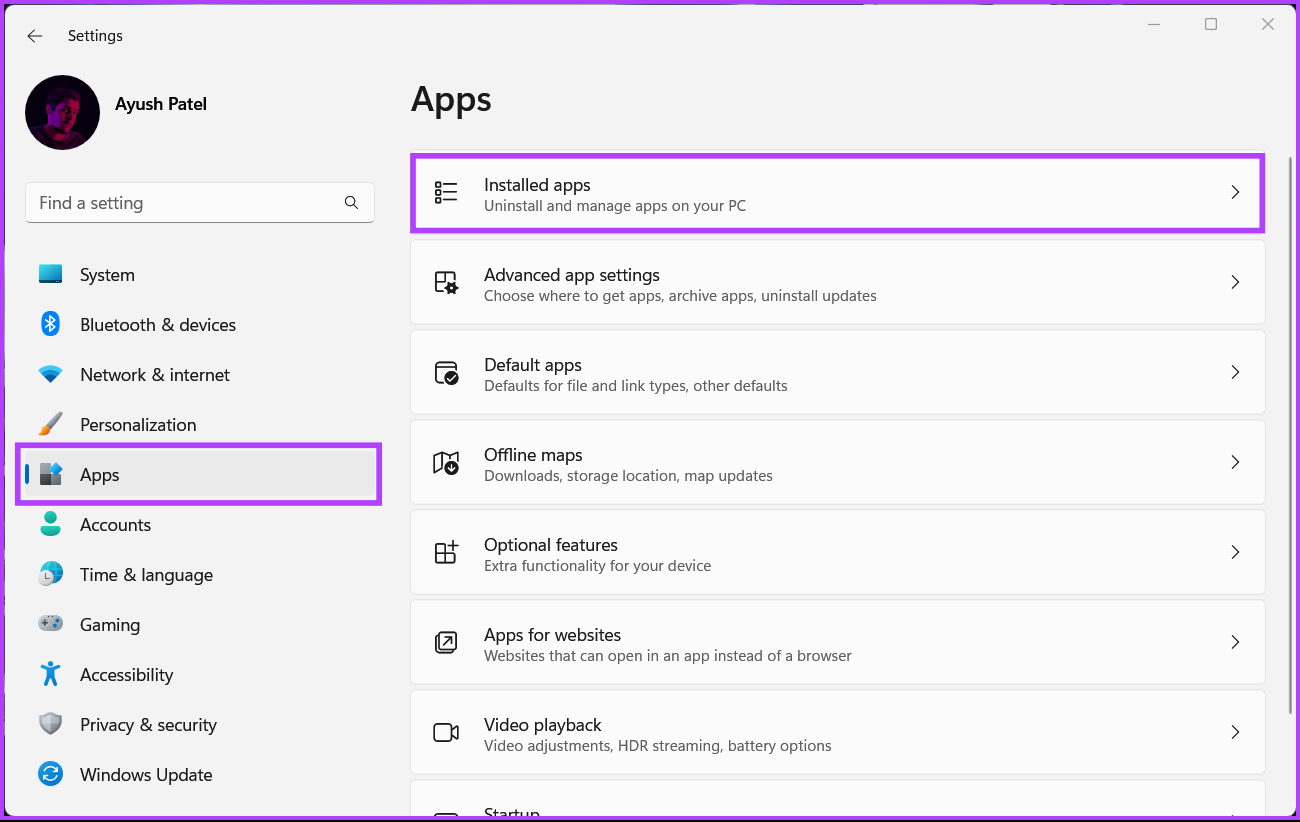
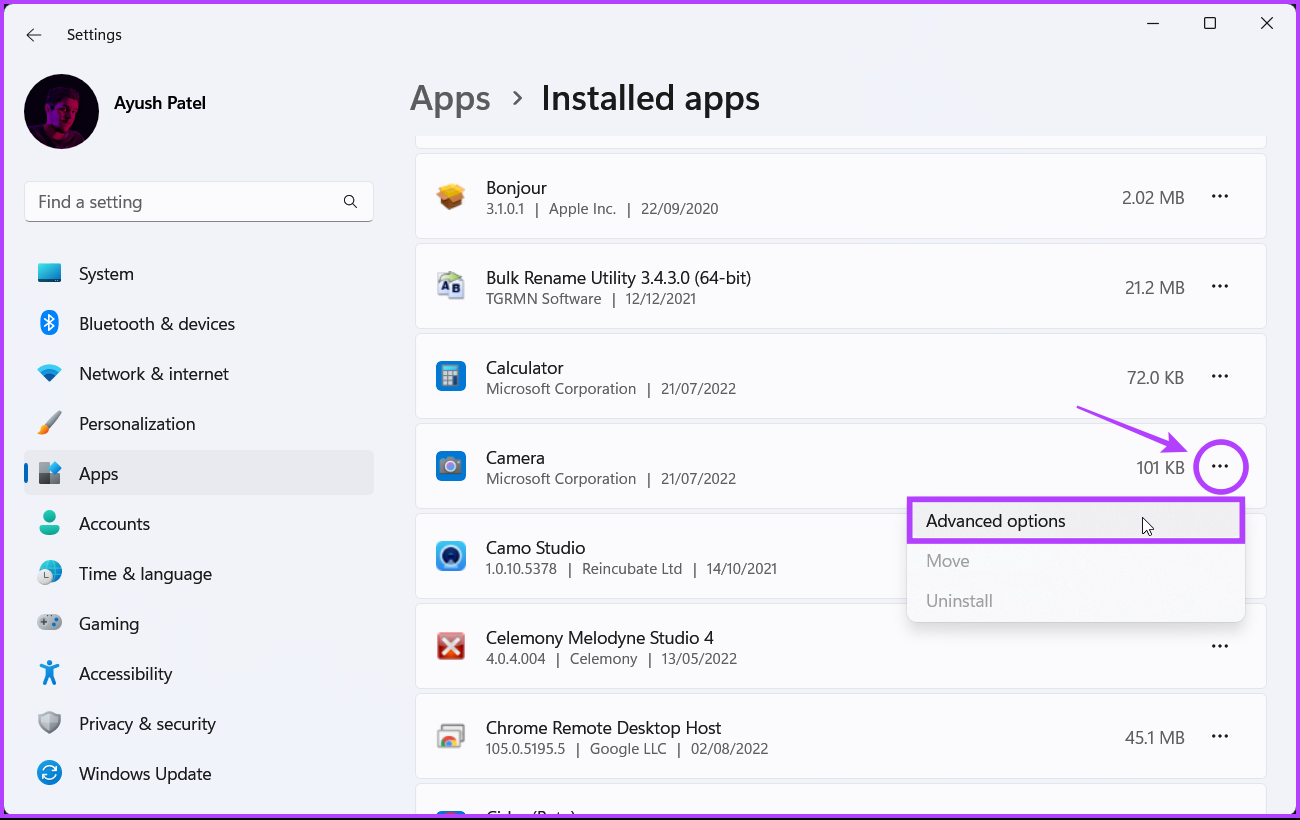
The Camera app might be outdated or have old data to work properly with your new or upgraded webcam. That might be why you’d be getting a blurry video feed without an internet connection. So it’s a good idea to update the native camera app on Windows. Here’s how you can quickly repair or reset the Windows 11 Camera app on your PC: Step 1: Press the Window + I shortcut to open the Settings app. Step 2: Click on Apps followed by Installed apps from the right pane. Step 3: Scroll down to Camera, click the horizontal three dots menu next to it, and select Advanced options. Step 4: Under the Camera app’s Advanced options, scroll down and click on the Repair button. If repairing doesn’t do the trick, click on the reset button. After that, Windows will attempt to repair or reset the app and show a checkmark next to the button you clicked, denoting that the process is complete.
No More Blurry or Hazy Video Calls
These fixes might be enough for the time being to quickly get your webcam up and running for a quick video call. However, you may consider getting a dedicated webcam and upgrading the internet connection for better quality video. Besides, lighting is also important, so check out our list of best webcams with a ring light that money can buy. Also, don’t ignore the sound the best webcams with built-in microphones that also promise a good video feed. Let us know if you’ve figured out another thing that helped to fix your blurry webcam video for calls on your Windows 11 computer. The above article may contain affiliate links which help support Guiding Tech. However, it does not affect our editorial integrity. The content remains unbiased and authentic.
