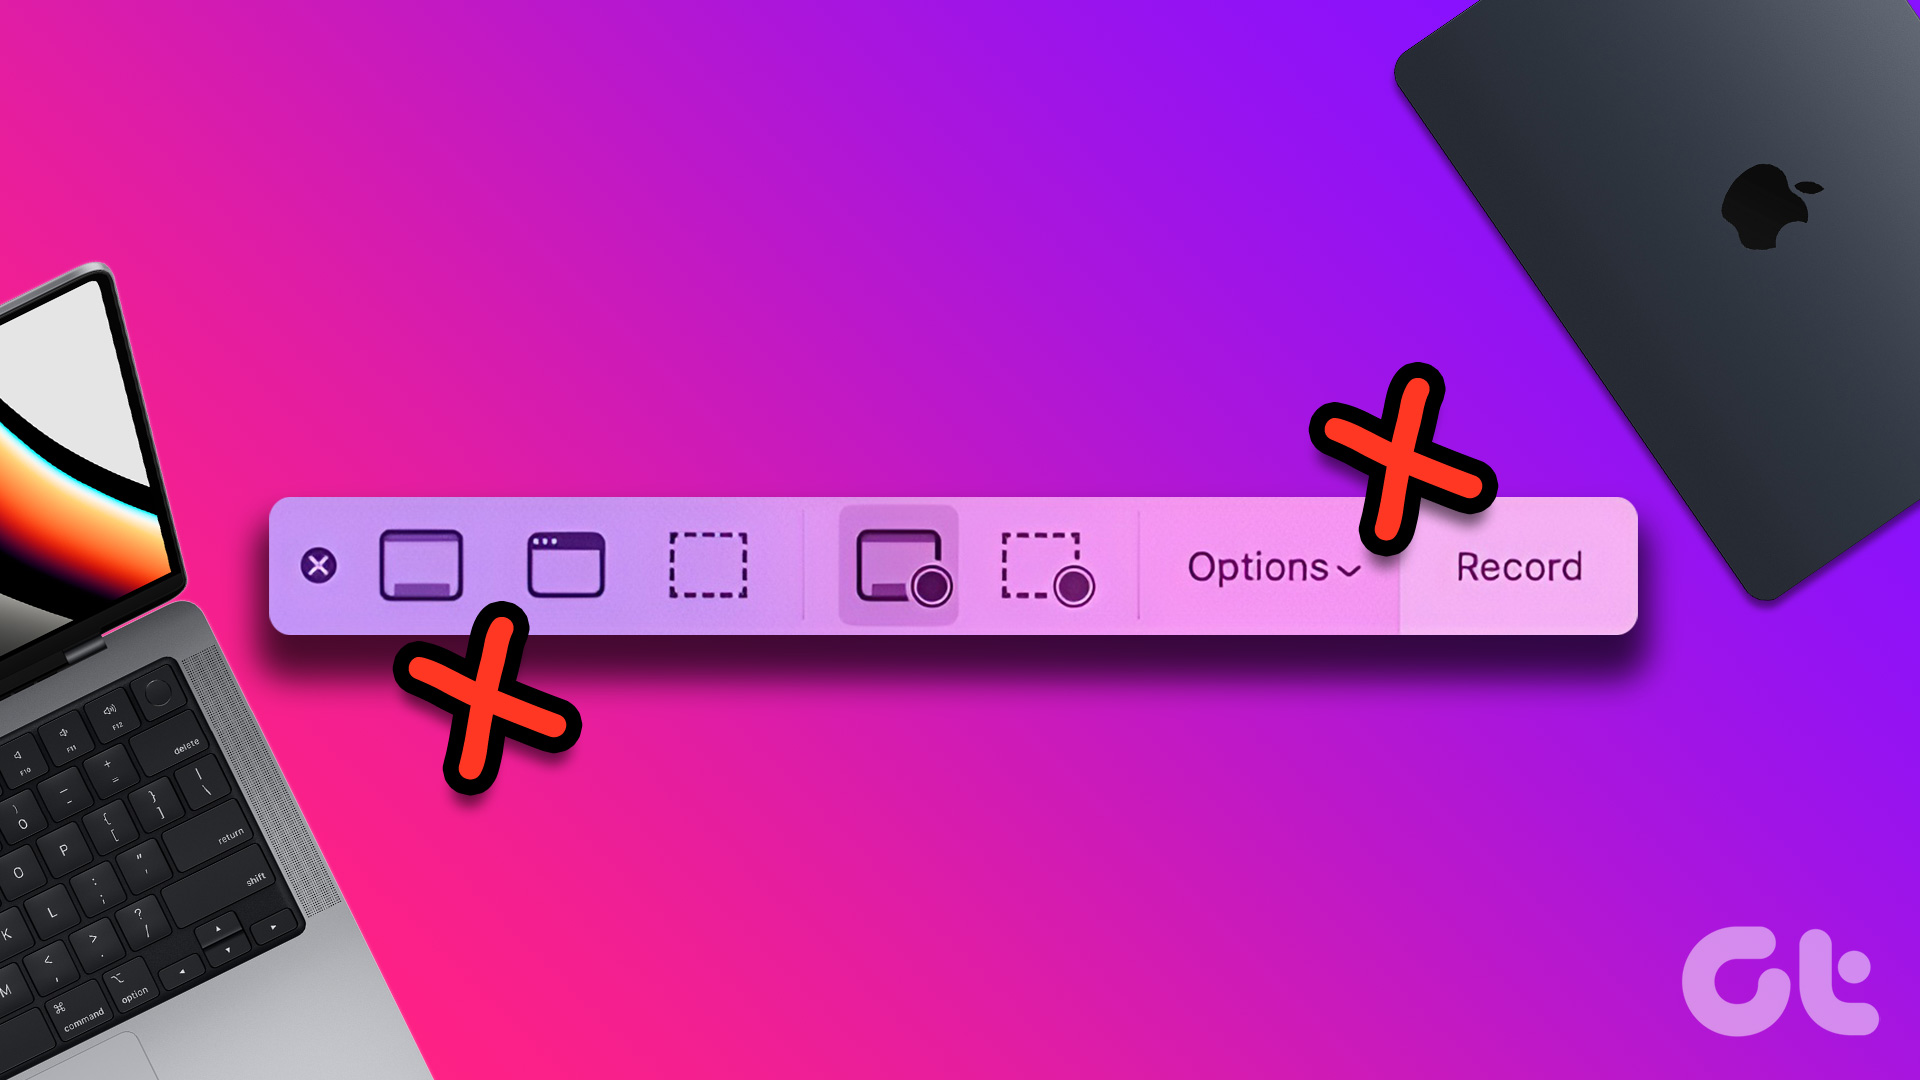
What if you have to screen-record an important lecture or meeting and the screen recorder stops working? We are here to combat this problem by bringing the best fixes for Screen Recorder not working on Mac.
1. Check the Screen Recorder Keyboard Shortcut
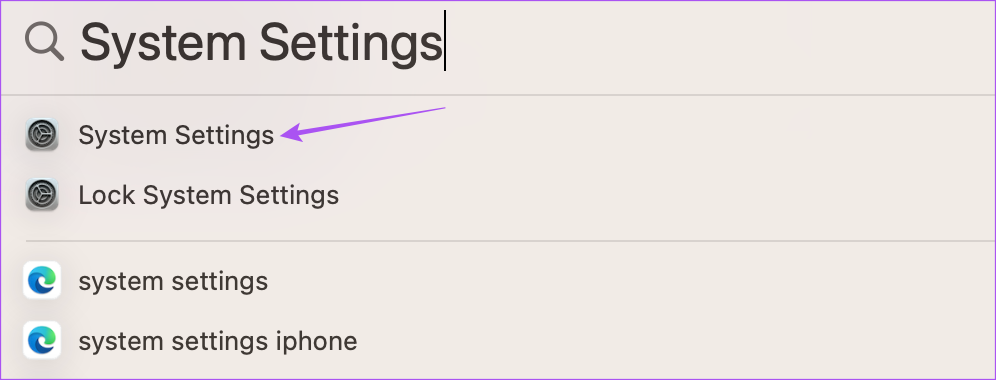
Whenever you want to enable the Screen Recorder tab on your Mac, you can press Command + Shift + 5 to start capturing your screen. So if the Screen Recorder stops working on your Mac, you’ll need to check whether the keyboard shortcut is still the same. Step 1: Press Command + Spacebar to open Spotlight Search, type System Settings, and press Return.
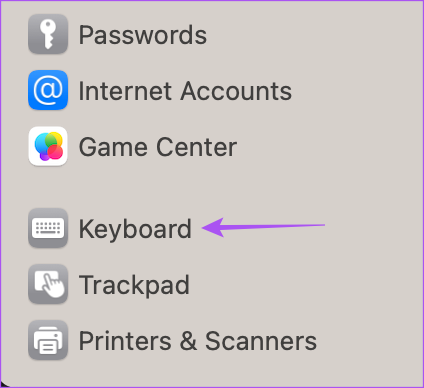
Step 2: Scroll down to the bottom and click on Keyboard from the left menu.
Step 3: On the right side, click on the Keyboard Shortcuts button.
Step 4: Click on Screenshots from the left menu in the pop-up window.
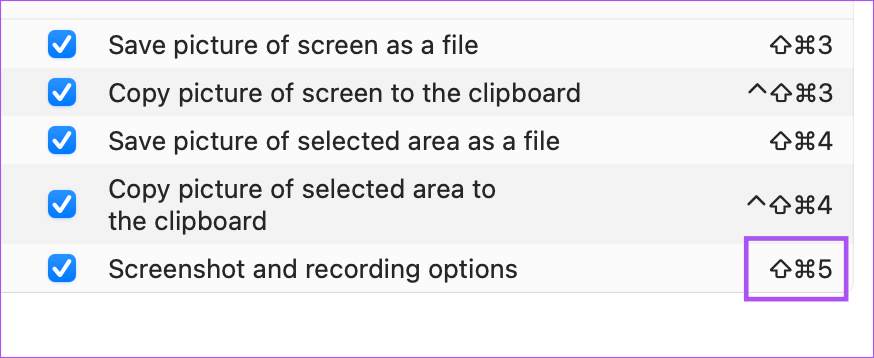
Step 5: Check the keyboard shortcut next to ‘Screenshot and Recording Options.’
If the shortcut is not enabled, click the checkbox on the left side to enable it.
To change the keyboard shortcut, double-click on it and press the keyboard keys to add a new shortcut.
If a new shortcut was added previously, you can click on Restore Defaults to return to the default keyboard shortcut.
Step 6: After making all the changes, click on Done in the bottom-right corner.
Step 7: Close the Settings window and check if the problem is solved.
2. Open Screen Recorder Using QuickTime Player
If you cannot start the screen recording using your keyboard shortcut, you can try opening the Screen Recorder manually using QuickTime Player on your Mac. You can also use QuickTime Player when the Voice Memos app stops working on your Mac. But for the purpose of this post, here’s how you can use QuickTime Player for screen recording. Step 1: Press Command + Spacebar to open Spotlight Search, type QuickTime Player, and press Return.
Step 2: Click on Cancel to close the default window that opens on your screen. Step 3: Right-click the QuickTime Player app icon in the Dock.
Step 4: Select New Screen Recording from the list of options.
You should now see the Screen Recording Menu Bar at the bottom. Check if you are able to record your Mac’s screen or not.
3. Use Disk Utility to Repair the Storage
Screen recordings done using QuickTime Player get saved automatically on your Mac’s storage. So if you can record your screen but cannot save those recordings on your Mac, we suggest using Disk Utility to repair any inconsistencies with the storage. Step 1: Press Command + Spacebar to open Spotlight Search, type Disk Utility, and press Return.
Step 2: Inside the Disk Utility window, click on the First Aid option.
Step 3: Click on Run to start First Aid.
Step 4: Click on Continue to confirm your action.
Step 5: After the operation is complete, close the window and check if the problem is solved.
4. Check App Privacy Settings
If you wish to record your screen while using an app like Zoom or Keynote, you’ll need to permit the app from the Privacy settings to record the content of your Mac screen. Here’s how you can check the Privacy settings of the app. Step 1: Press Command + Spacebar to open Spotlight Search, type System Settings, and press Return.
Step 2: Click on Privacy and Security from the left menu.
Step 3: Scroll down on the right side and click on Screen Recorder.
All the apps allowed to record the content of your screen will be listed. Step 4: You can click on the toggle next to the app name to allow screen recording.
You can also click the Plus icon at the bottom-left corner to add an application to permit it to record screen.
Step 5: After enabling the feature, close the window and check if the problem is solved.
5. Restart Your Mac
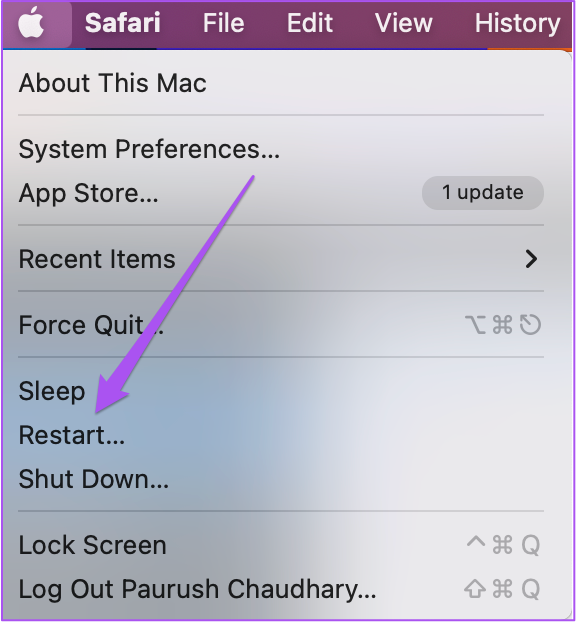
The next solution is a pretty basic one but still helps most of the time to solve software-related issues on your Mac. You can restart your Mac and check if the Screen Recording feature resumes proper functioning. Step 1: Click on the Apple logo at the top-left corner.
Step 2: Click on Restart.
Step 3: After your Mac restarts, try launching the Screen Recorder.
6. Boot Your Mac in Safe Mode
Safe Mode on your Mac prevents any third-party app from interfering with the regular functioning of system apps. Since we are talking about Screen Recorder, booting your Mac in Safe Mode is definitely worth a shot. You can follow the steps based on the processor of your Mac.
For Macs With Intel Chip
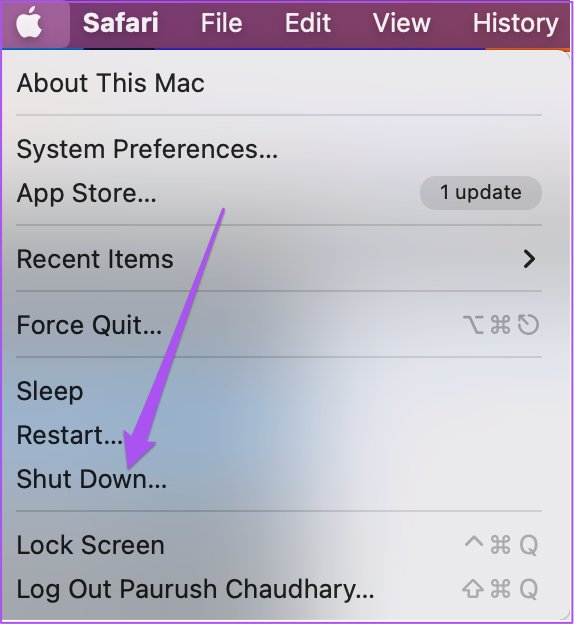
Step 1: Click the Apple logo in the top-left corner.
Step 2: Click on Shut Down.
Step 3: When your Mac shuts down, press and hold the Power Button till you see the two startup options – Macintosh HD and Options. Step 4: Select Macintosh HD while holding the Shift Key and select ‘Continue in Safe Mode.’
Step 5: After your Mac boots up, try to record your screen.
For Macs With M-Series Chip
Step 1: Click the Apple logo in the top-left corner.
Step 2: Click on Restart.
Step 3: When your Mac restarts, press and hold the Shift Key. Step 4: Release the Shift Key once you hit the login window. Step 5: Enter your Mac passcode to log in and then check if the problem is solved.
7. Update macOS
If none of the solutions work, we suggest updating the version of macOS to update the Screen Recorder. Step 1: Press Command + Spacebar to open Spotlight Search, type System Settings, and press Return.
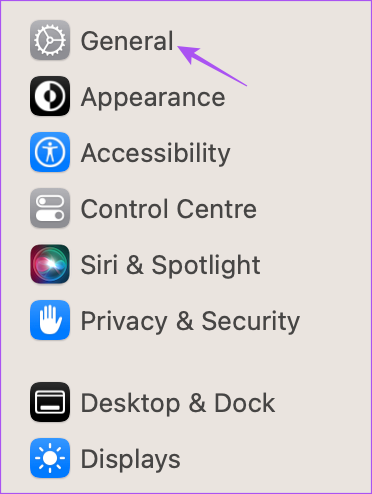
Step 2: Click on General from the left menu.
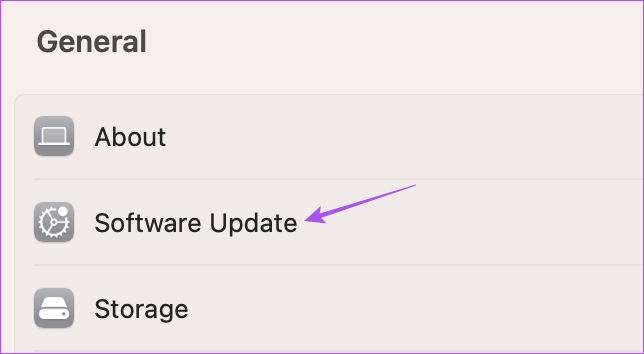
Step 3: Click on Software Update on the right side.
Step 4: If an update is available, download and install it. Step 5: After the installation completes, check if the problem is solved.
Record the Screen of Your Mac
These solutions will help you restore the smooth functioning of the Screen Recorder on your Mac. Want to make cool video, check our guide on how to record a Time-Lapse video of your Mac screen. The above article may contain affiliate links which help support Guiding Tech. However, it does not affect our editorial integrity. The content remains unbiased and authentic.
